 Laptop & Tablet Parts
 Desktop & All-in-one Parts
 Dell Server Parts


Inspiron 15 (N5050)
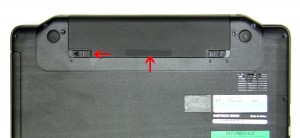 |
BATTERY
|
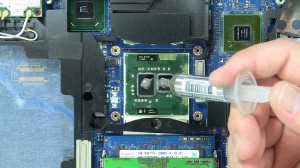 |
CPU PROCESSOR
|
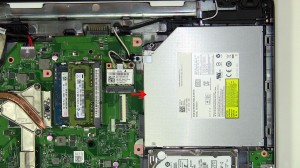 |
DVD OPTICAL DRIVE
|
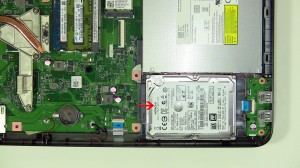 |
HARD DRIVE
|
 |
HEATSINK
|
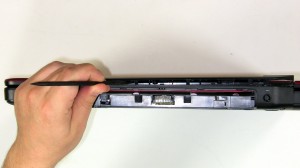 |
HINGE COVER
|
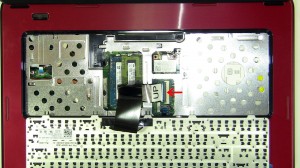 |
KEYBOARD
|
 |
LCD BEZEL
|
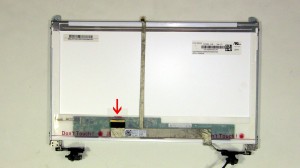 |
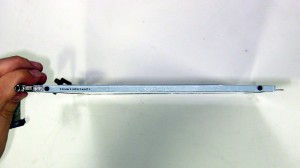
LCD CABLE
|
 |
LCD DISPLAY ASSEMBLY
|
 |
HINGE
|
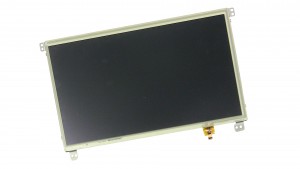 |
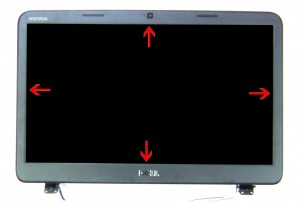
LCD SCREEN
|
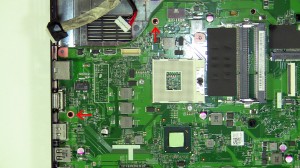 |
MOTHERBOARD
|
 |
TOUCHPAD PALMREST
|
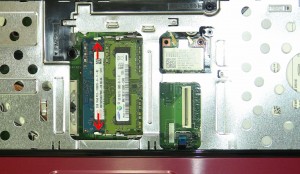 |
MEMORY
|
