 Laptop & Tablet Parts
 Desktop & All-in-one Parts
 Dell Server Parts


Tag Archives: Dell Latitude Repair Manuals
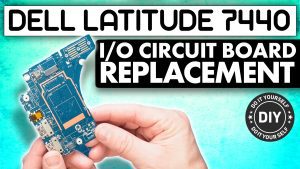 |
I/O CIRCUIT BOARD
|
 |
HEATSINK FAN ASSEMBLY
|
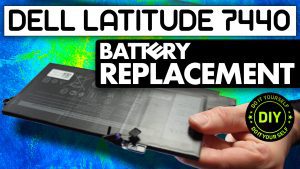 |
BATTERY
|
 |
M.2 NVME SSD
|
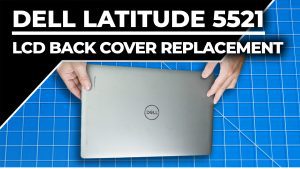 |
LCD BACK COVER
|
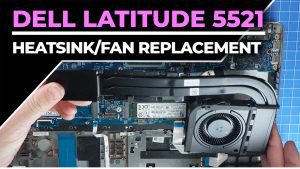 |
HEATSINK/COOLING FAN ASSEMBLY
|
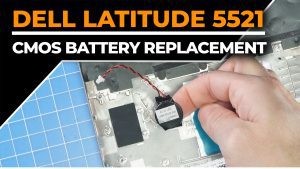 |
CMOS BATTERY
|
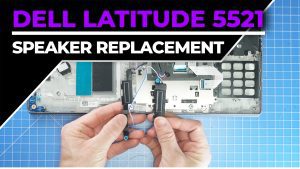 |
SPEAKERS
|
 |
KEYBOARD
|
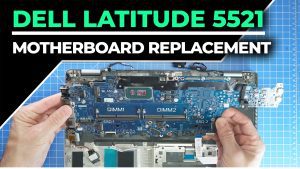 |
MOTHERBOARD
|
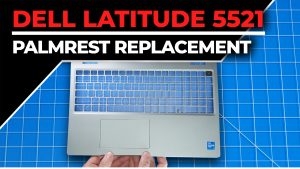 |
PALMREST ASSEMBLY
|
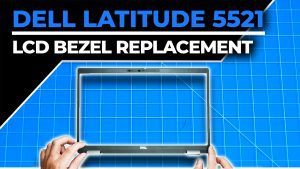 |
LCD BEZEL
|
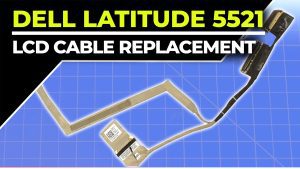 |
LCD CABLE
|
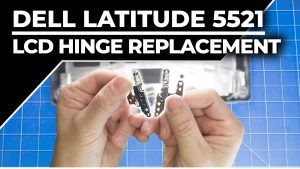 |
LCD HINGES
|
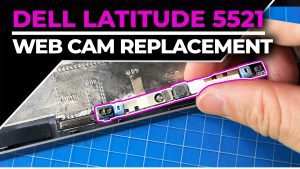 |
WEB CAMERA
|
